Symfony 6 tutorial. Frontend setup and configuration.

In this part, I will set up Vue 3 and Vuex store and a JWT authentication bundle.
First of all, I need to install the Webpack encore bundle(plus MakerBundle):
composer require symfony/webpack-encore-bundle
composer require --dev symfony/maker-bundle
npm install
yarn install
Suppose you have it, cool. Now let's add Vue, Vuex store, and Vue Router.
npm install vue@next
npm install vue-router@next --save
npm install -D @vue/compiler-sfc
npm install -g @vue/cli
vue upgrade --next
npm install vuex@next --save
yarn add vue-loader@^16.1.0 --dev
Also, you can install chrome dev tools for VUE(it helps with debugging).
Now I need one more bundle for JWT authentication
composer require "lexik/jwt-authentication-bundle"After installation, I need to generate SSL keys:
bin/console lexik:jwt:generate-keypairAnd update security.YAML file with the following:
        login:
            pattern: ^/api/login
            stateless: true
            json_login:
                check_path: /api/login_check # or api_login_check as defined in config/routes.yaml
                success_handler: lexik_jwt_authentication.handler.authentication_success
                failure_handler: lexik_jwt_authentication.handler.authentication_failure
        api:
            pattern: ^/api
            stateless: true
I don't have a User Entity yet. Well, I can use FOSUserBundle, but it's too much for this kind of project. So I am going to create a simple user entity:
./bin/console make:user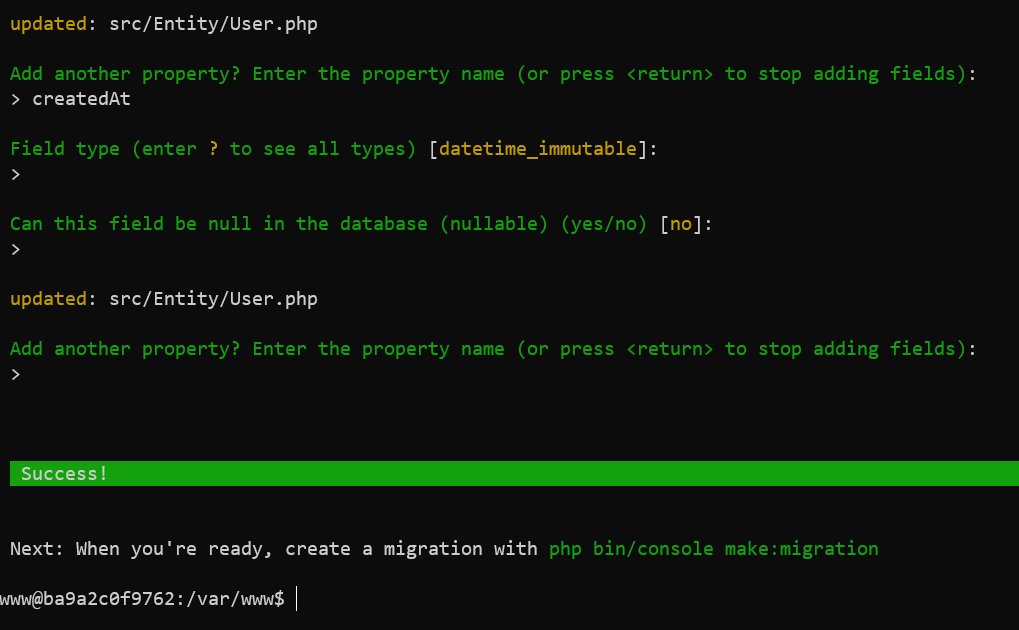
Next run migration:
php bin/console make:migration
$ php bin/console doctrine:migrations:migrate
At first, I wanted to use foundation, but when I saw that it uses jquery, I changed my mind and decided to go with the tailwind(strange? - maybe, but it is what it is).
Install Tailwind CSS
npm i tailwindcss postcss-loader autoprefixercreate postcss.config.js in the main folder:
let tailwindcss = require('tailwindcss');

module.exports = {
        plugins: [
            tailwindcss('./tailwind.config.js'),
            require('autoprefixer'),
            require('postcss-import')
        ]
}
Create tailwind.css file in /assets/styles/tailwind.css
@tailwind base;

@tailwind components;

@tailwind utilities;
update Webpack configuration with new tailwind CSS, add these lines:
    Encore
    //.......
    .enableVueLoader()
    .addStyleEntry('tailwind', './assets/styles/tailwind.css')
    // enable post css loader
    .enablePostCssLoader((options) => {
        options.postcssOptions = {
            config: './postcss.config.js'
        };
    })
Don't forget to update your base.html.twig file, add this:
        {% block stylesheets %}
            {{ encore_entry_link_tags('tailwind') }}
        {% endblock %}
Lets build our first component.
Now let's create a basic Vue project structure.
Please create the following folders and files in your assets/js folder:
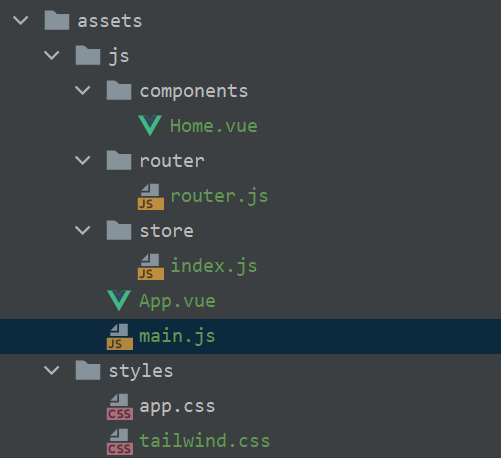
main.js - our entry js file.
import '../styles/app.css';
import {createApp} from 'vue';
import App from './App';
import router from './router/router';
import store from './store/index';


createApp(App)
    .use(router)
    .use(store)
    .mount('#app')
App.vue - the main component, for now, it's a pretty simple file:
<template>
  <div>
    <router-view>
      <home />
    </router-view>
  </div>
</template>

<script>
import Home from "./components/Home.vue";
export default {
  name: "App",
  components: {
    Home
  }
};
</script>
/router/router.js - contains our routes; I created only one route but will add more later.
import Home from '../components/Home.vue'
import {createRouter, createWebHistory} from 'vue-router'

export default createRouter({
    history: createWebHistory(),
    routes: [
        {
            name: 'home',
            path: '/',
            component: Home
        }
    ]
})
store/index.js - Vuex store. Nothing special, I will show what we are going to do with this in the next chapter.
import {createStore} from 'vuex'

export default createStore({
    state() {
        return {
            data: 1
        }
    }
})
And of course our first component - Home.vue
<template>
  <div>
    Home controller
  </div>
</template>

<script>
export default {
  name: "Home"
};
</script>
One more thing, update your FrontendController Index action:
    #[Route('/', name: 'frontend')]
    #[Route('/{route}', name: 'vue', requirements: ['route' => '^.+'])]
    public function index(): Response
yarn encode dev --watchVoila, and we are done!
In the next chapter, I will build a login/sign-up form with basic authentication.


Member discussion