Symfony tutorial for beginners

Last updated: 20/08/2022
Hey there.
In this tutorial, you will learn how to create a basic Symfony application. When you finish this tutorial, you will know how to create a simple CRUD application. And you will get familiar with controllers, templates, entities, routes, and so on.
The source code is available on GitHub.
Requirements
I assume that you have basic knowledge of these things:
- Basic PHP/MySQL knowledge
- HTML/CSS knowledge
- You should know how to use the terminal(console)
And you have installed:
- PHP 7+
- MySQL 5.6+ or MariaDB
- You are using macOS or Linux(Ubuntu, Mint .. whatever)
- If you are on Windows, you will need a XAMMP or better install Linux on Windows with WSL 2.
- Text editor - PhpStorm or Visual Studio Code or any other you like.
- Also, I recommend installing Symfony plugin for PhpStorm or VSCode
Let's start.
Installation
Download the Symfony installer. Go to https://symfony.com/download and download it.
In macOS you can install it with this line:
curl -sS https://get.symfony.com/cli/installer | bashAfter installation you should be able to write commands like this one:
symfony help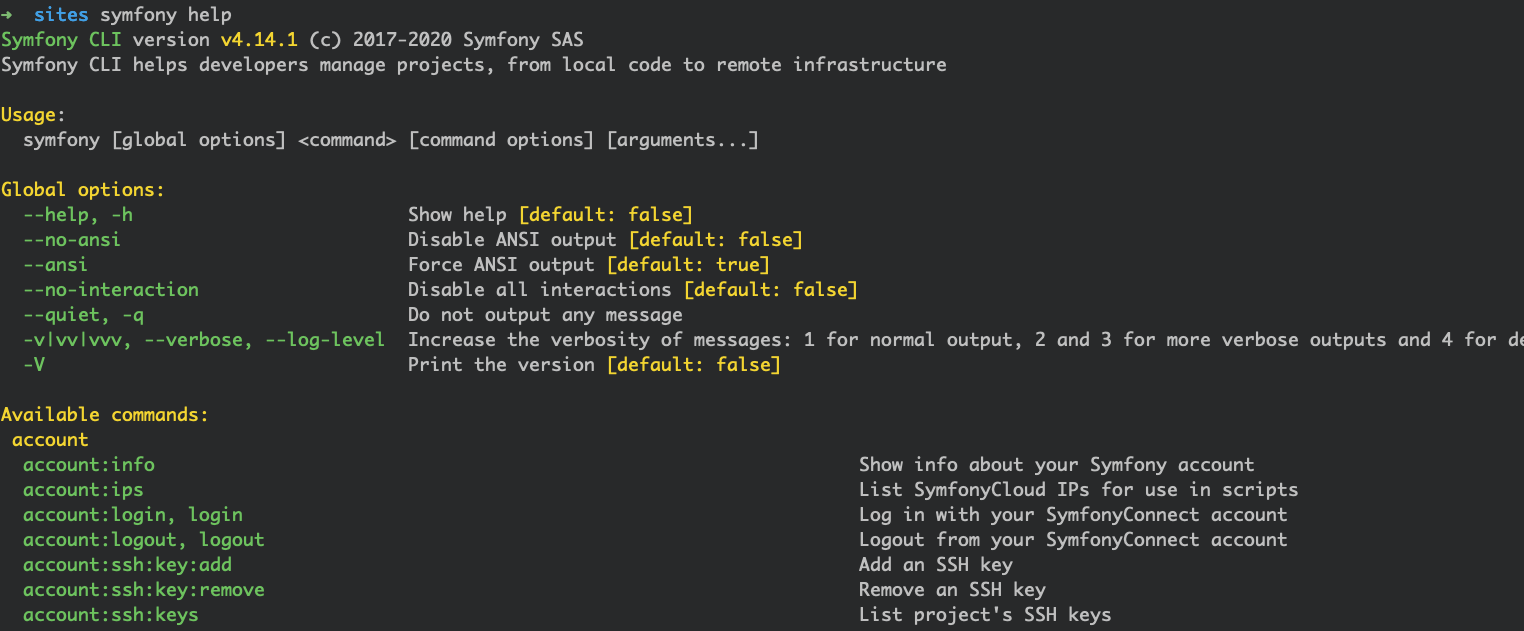
Symfony CLI application has a lot of built-in features. We will use them a lot.
I am going to build a simple blog, so let's create a new Symfony project.
symfony new --full blogThis command will create a skeleton of the app.

To run our website, we need a web server. There are two most popular web servers for PHP: Apache2 and Nginx. But in this tutorial, I will use a simple built-in PHP webserver.
To run a web server, open up a new terminal window and write the next line in your project directory.
symfony server:startOr you can use this one:
php -S 127.0.0.1:8000Now you have a web server up and running.
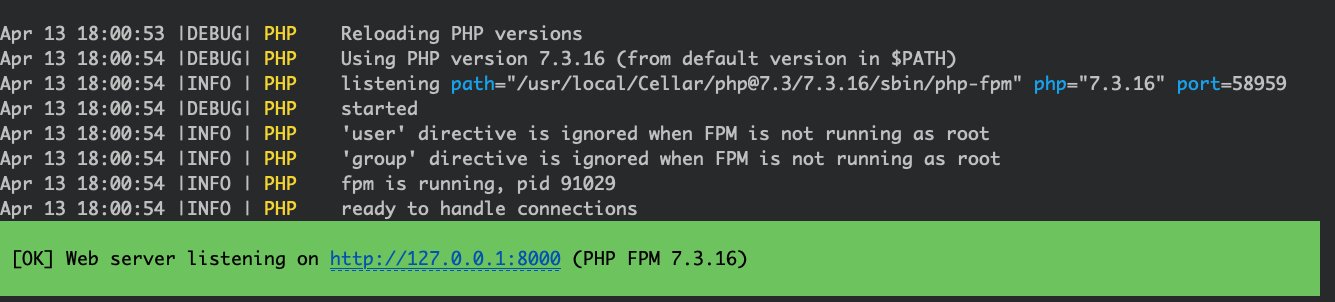
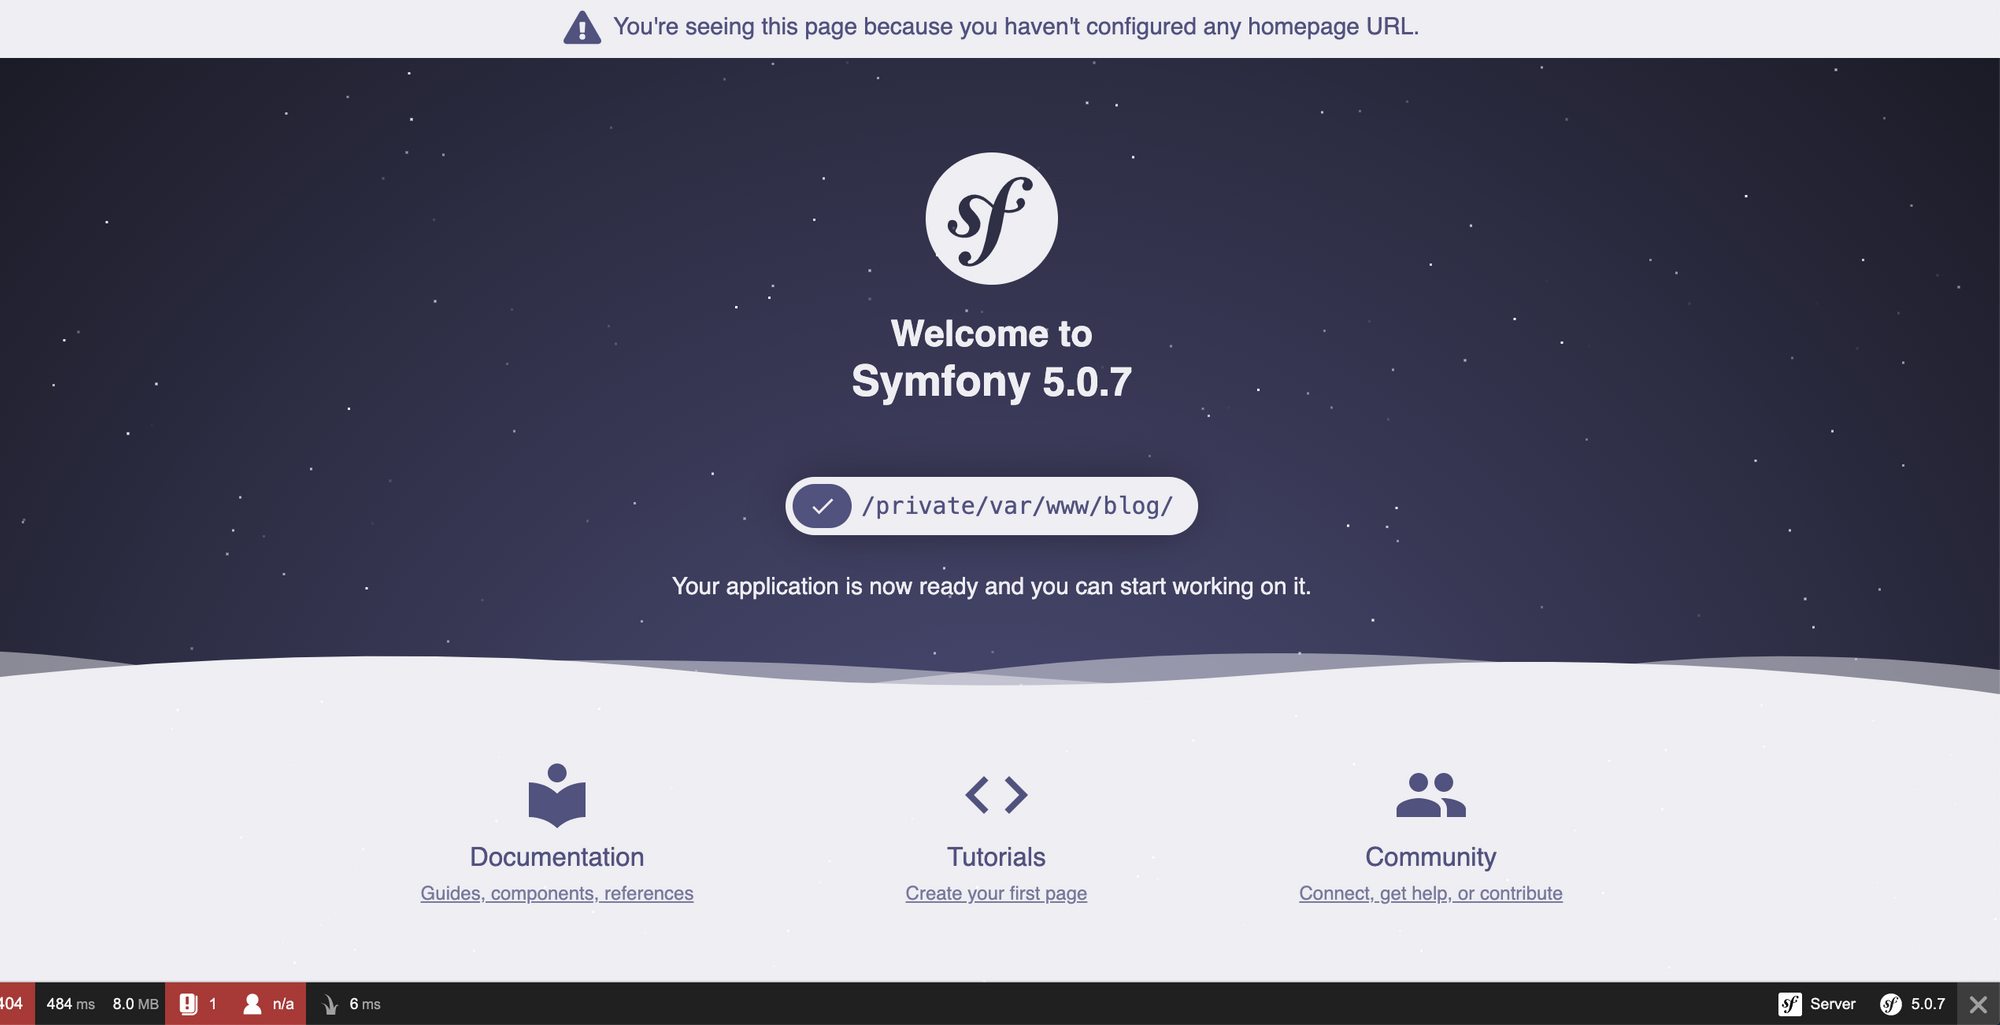
Open that link in the browser and you should see a welcome page.
First page
To create a page you need to create a route and a controller.
Let's start with the controller.
First, I'll make a home page for my blog to show a list of blog posts.
Create an MainController.php under src/Controller folder:
<?php

namespace App\Controller;

class MainController
{

    public function index()
    {
        return 'test';
    }
}
Now you need to create a route(actual path) for this action. We will use Symfony Annotations to add routes.
<?php

namespace App\Controller;

use Symfony\Component\Routing\Annotation\Route;
use Symfony\Component\HttpFoundation\Response;

class MainController
{
    /**
     * @Route("/", name="index")
     */
    public function index()
    {
        return new Response('test');
    }
}
As you can see we added a new annotation directive @Route . It's a special annotation that tells the framework to use index method to process our main route.
Reload your page, you should see the word test in your browser.
Congratulations, you have created your first action.
Database Schema, Entity
Before we move forward, let`s create a database schema for our blog(you can run native SQL queries if you want, but it's not recommended). I will go with something simple. Our blog will have next fields:
- title
- short_description
- body
- image
I hope that you have the MySQL client installed on your local machine. If not, you can install HeidiSQL or MySQL Workbench or use the native mysql command-line client.
The Symfony framework uses Doctrine ORM to interact with the database. It’s an abstraction layer between the application and the database. I will not go into details here, because it's a big topic, you can read about it here.

If I want to save something to the database, I need to create a specific class called - Entity(PHP object).
So let's create our first entity. To do so, write the next command in your terminal:
php bin/console make:entity
You will see an interactive window. Follow the steps I described below.

- Name it
Blog. - Now you need to add properties:
2.1title, typestring, length40, nullable -no
2.2short_description, typestring, length40, nullable -no
2.3body, typetext, nullable -no
2.4image, typestring, length100, nullableyes
Now you should see two files that were created:
src/Entity/Blog.phpsrc/Repository/BlogRepository.php
If you messed up with something, don't worry. You can delete those files and do it again. If you still struggle, check this link. It's a full project, so you can find those files.
Ok great, we have our entity in place, but before we move on we need to create an actual database schema.
Create a new MySQL database:
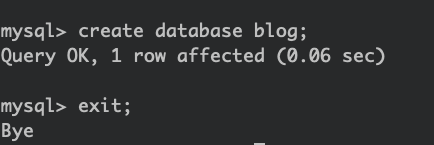
mysql -u {USER} -p{PASSWORD}

create database blog;

exit;
Replace {USER} with your MySQL user name, and {PASSWORD} with your user password.
Change your .env file(located in the root directory of the project).
DATABASE_URL=mysql://db_user:db_password@127.0.0.1:3306/db_name?serverVersion=5.7
Change db_user to your mysql userand db_password to your database password, db_name to blog
After that, populate the schema by running the next command:
php bin/console doctrine:schema:create
Ok, we have created schema and entity. Now it's time to populate the database with fake data(fake blog information).
For this purpose, there is a Symfony library called - FixtureBundle
Open up a terminal window and run the next command:
composer require --dev orm-fixtures
This command will install the extra library and will create a file App\DataFixtures\AppFixtures
Open that file - src/DataFixtures/AppFixtures.php and let's create a few blog posts.
<?php

namespace App\DataFixtures;

use App\Entity\Blog;
use Doctrine\Bundle\FixturesBundle\Fixture;
use Doctrine\Common\Persistence\ObjectManager;

class AppFixtures extends Fixture
{
    public function load(ObjectManager $manager)
    {
        for ($i = 0; $i < 4; ++$i) {
            $blog = new Blog();
            $blog->setTitle('Lorem ipsum');
            $blog->setBody('Lorem ipsum dolor sit amet, consectetur adipiscing elit.
              Proin sodales, arcu non commodo vulputate, neque lectus luctus metus,
              ac hendrerit mi erat eu ante. Nullam blandit arcu erat,
              vitae pretium neque suscipit vitae.
              Pellentesque sit amet lacus in metus placerat posuere. Aliquam hendrerit risus elit, non commodo nulla cursus id.
              Vivamus tristique felis leo, vitae laoreet sapien eleifend vitae. Etiam varius sollicitudin tincidunt');
            $blog->setShortDescription('Lorem ipsum description');
        }

        $manager->flush();
    }
}
As you can see, we created four blog posts. ObjectManager is a main public interface.
In the example above we used persist and flush methods. Persist tells ObjectManager that we want to save our object to a database table.
And flush saves changes into a database(MySQL in our case).
To generate fixtures, simply run this command from the console:
php bin/console doctrine:fixtures:load
Cool, now let's create a base view with a list of our blogs.
Index action extended
Symfony uses a template engine called Twig.
I strongly recommend reading more about twig in the documentation.
To display an HTML page from a controller you need to create a template.
There is a base.html.twig file that you can use as a base template.
Go to the root directory of the project and find a template folder. Create a new file called list.html.twig and copy/paste the next code.
{% extends 'base.html.twig' %}

{% block body %}
<h1>Blogs</h1>
{% endblock %}
This line means that we extend a base twig template and I overwrote a body block with a Blogs heading.
So let's change our controller's index action. Go to your MainController and extend it:
use Symfony\Bundle\FrameworkBundle\Controller\AbstractController;
use Symfony\Component\Routing\Annotation\Route;
use Symfony\Component\HttpFoundation\Response;

class MainController extends AbstractController
We need to extend AbstractController because we want to use additional methods from that controller.
Now, modify your index function:
return $this->render('list.html.twig');
Reload your page:
Before moving on to the next section and actually displaying all blogs. Let's add bootstrap CSS to our code. Add this code to the <head> section of base.html.twig file.
<link rel="stylesheet" href="https://stackpath.bootstrapcdn.com/bootstrap/4.3.1/css/bootstrap.min.css" integrity="sha384-ggOyR0iXCbMQv3Xipma34MD+dH/1fQ784/j6cY/iJTQUOhcWr7x9JvoRxT2MZw1T" crossorigin="anonymous">Blog List
It's time to show the list of blogs on your index page.
To do so we need to fetch these blogs from the database. So, we need to inject a BlogRepository into our method.
    /**
     * @Route("/")
     *
     * @param BlogRepository $blogRepository
     *
     * @return Response
     */
    public function index(BlogRepository $blogRepository)
    {
        return $this->render('list.html.twig');
    }
What is BlogRepository? This is a special Doctrine ORM class. If you want to write database queries, this is where you should do it.
In order to fetch all the blogs that we have, use a fetchAll method. Let's modify our index action.
    public function index(BlogRepository $blogRepository)
    {
        return $this->render('list.html.twig', ['blogs' => $blogRepository->findAll()]);
    }
And change list.html.twig file, add this line under h1 tag:
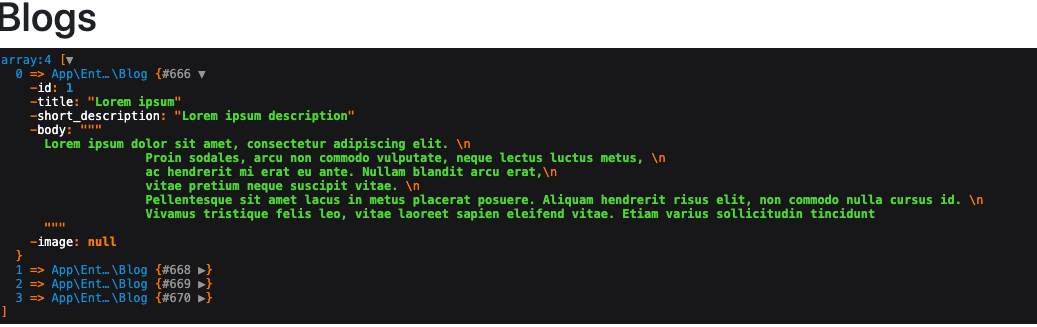
{{ dump(blogs) }}
This command is useful when you want to dump data into a readable format to debug it. If you run it, you will see something like this:
Let's bring it to a normal view. I will create a table to display a blog list.
{% extends 'base.html.twig' %}
{% block stylesheets %}
    <style>
        .align-center {
            margin: 0 auto;
        }
    </style>
{% endblock %}
{% block body %}
    <div class="row">
        <div class="col-lg-8 align-center">
            <h1>Blogs</h1>
            <table class="table table-striped ">
                <thead class="thead-dark">

                <tr>
                    <th>Title</th>
                    <th>Short description</th>
                    <th>Actions</th>
                </tr>
                </thead>
                <tbody>
                {% for blog in blogs %}
                    <tr>
                        <td>{{ blog.title }}</td>
                        <td>{{ blog.shortDescription }}</td>
                        <td>
                            <button class="btn btn-primary">Edit</button>
                        </td>
                    </tr>
                {% endfor %}
                </tbody>
            </table>

        </div>
    </div>


{% endblock %}
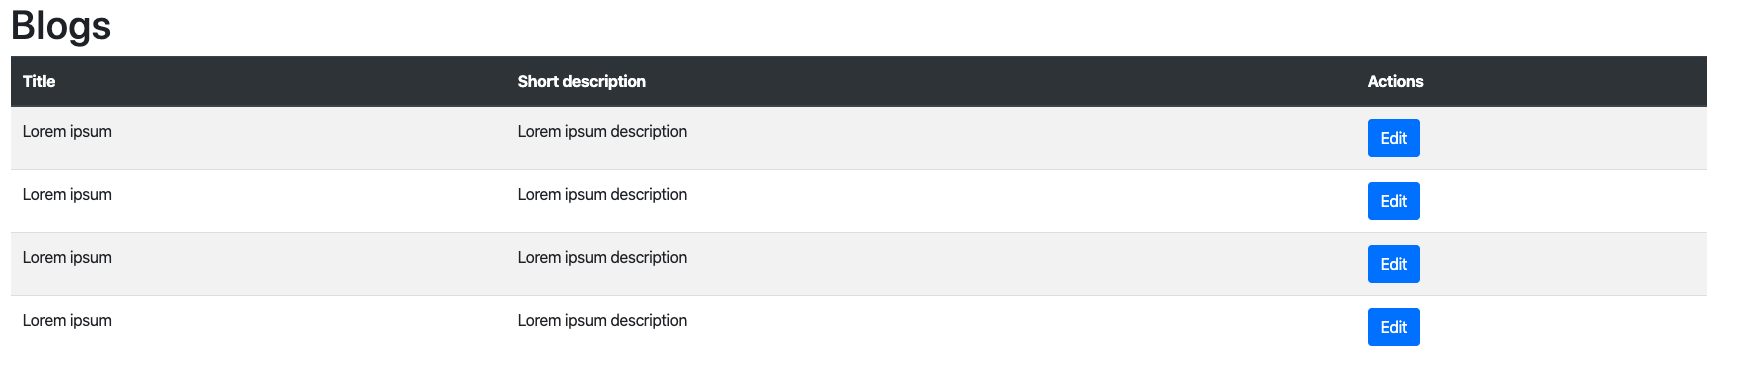
As you can see I used a FOR loop and displayed titles and short descriptions.
You can reload your page and you should see the list of blogs with edit action shown in the image below.
Try to add an extra button, DELETE action for each blog post.
Ok, we have a list of blogs in place, now we need a way to create a single blog post.
Create action
To create a new blog, we need to create a new action in our controller. Let's name it createBlog.
 use Symfony\Component\HttpFoundation\Request;

 ........

    /**
     * @param Request $request
     *
     * @return Response
     */
    public function createBlog(Request $request)
    {

        return $this->render('create.html.twig');
    }
Create a new template create.html.twig
{% extends 'base.html.twig' %}

{% block body %}
<div class="row">
    <div class="col-lg-8 align-center">
        <h1>Create Blog</h1>

    </div>
</div>
{% block %}
To create a form in Symfony you need to create a FormType. Symfony has powerful Form features. You don't have to worry about things like validation, form field rendering, and more. I recommend reading official documentation and getting familiar with forms.
So let's create our form type. Create a file called BlogFormType.php inside ./src/Form/Type folder:
<?php

namespace App\Form\Type;

use App\Entity\Blog;
use Symfony\Component\Form\AbstractType;
use Symfony\Component\Form\Extension\Core\Type\FileType;
use Symfony\Component\Form\Extension\Core\Type\TextType;
use Symfony\Component\Form\FormBuilderInterface;
use Symfony\Component\OptionsResolver\OptionsResolver;

class BlogFormType extends AbstractType
{
    public function buildForm(FormBuilderInterface $builder, array $options)
    {
        $builder->add('title', TextType::class, ['attr' => ['class' => 'form-control']]);
        $builder->add('shortDescription', TextType::class, ['attr' => ['class' => 'form-control']]);
        $builder->add('body', TextType::class, ['attr' => ['class' => 'form-control']]);
        $builder->add('imageFile', FileType::class, [
            'attr'     => ['class' => 'form-control',],
            'mapped' => false,
        ]);
    }

    public function configureOptions(OptionsResolver $resolver)
    {
        $resolver->setDefaults(
            [
                'data_class' => Blog::class,
            ]
        );
    }
}
buildForm - method is used to describe form fields, and form types. We added one unmapped field, which means that we do not save this imageFile in the database, instead, we gonna save imageName .
We set a Blog class as a data class of our form. Thus, Symfony will know that it works with a Blog entity.
Now, let's render it, update the code in create.html.twig file:
    <div class="row">
        <div class="col-lg-8 align-center">
            <h1>Create Blog</h1>
            {{ form_start(form) }}

            {{ form_rest(form) }}
            <input type="submit" class="btn btn-primary"/>

            {{ form_end(form) }}
        </div>
    </div>
and createBlog action inside MainController.php:
/**
* @Route("/create")
*
* @param Request $request
*
* @return Response
*/
public function createBlog(Request $request)
{
$form = $this->createForm(BlogFormType::class, new Blog());
return $this->render('create.html.twig', [
'form' => $form->createView()
]);
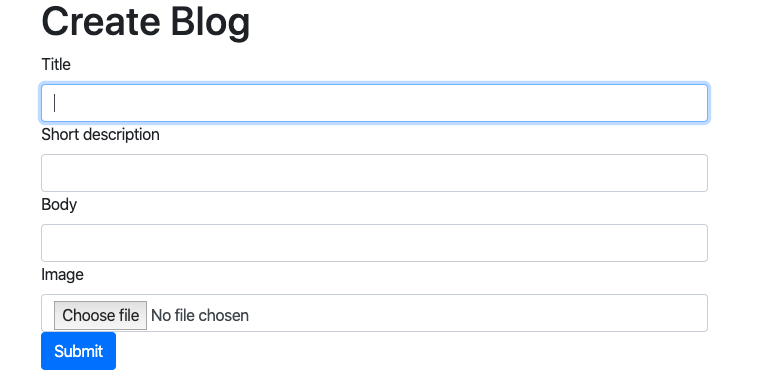
}As you can see, we created a form. We passed a new Blog entity object to this form, created a form view, and passed it to our twig template.
Reload your page, you should see your form:
Let's update our form style. If you want to know how to customize forms and how to render them consider reading this documentation.
Update create.html.twig file.
        <div class="col-lg-8 align-center">
            <h1>Create new blog entry.</h1>

            {{ form_start(form) }}

            <div class="form-group">
                {{ form_widget(form.title) }}
            </div>
            <div class="form-group">
                {{ form_widget(form.shortDescription) }}
            </div>
            <div class="form-group">
                {{ form_widget(form.imageFile) }}
            </div>
            <div class="form-group">
                {{ form_widget(form.body) }}
            </div>

            <input type="submit" class="btn btn-primary"/>

            {{ form_end(form) }}
        </div>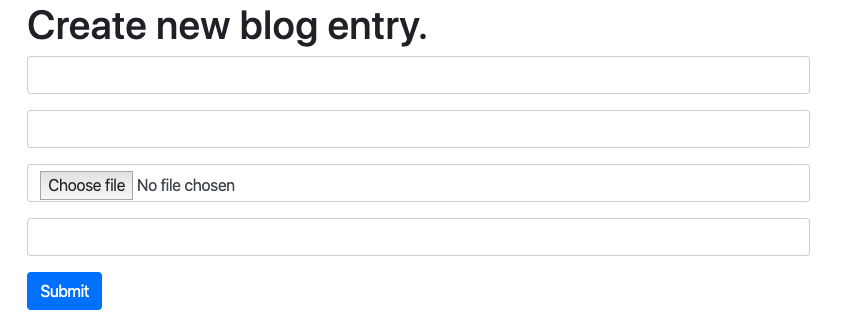
Now it looks much prettier. Let's update our create action method to process our form submission:
        $form->handleRequest($request);
        if ($form->isSubmitted() && $form->isValid()) {
            $blog = $form->getData();
            $entityManager->persist($blog);
            $entityManager->flush();
            $this->addFlash('success', 'Blog was created!');
        }
And add this code to create.html.twig under <h1> tag:
            {% for label, messages in app.flashes %}
                {% for message in messages %}
                    <div class="flash-{{ label }}">
                        {{ message }}
                    </div>
                {% endfor %}
            {% endfor %}
So what have we done? In our controller, we added form validation and persisted our Blog post into a database.
In our template, we displayed a success message.
At this point, you can try to create a blog.
But what about the image? Yes, right we need to save the image somewhere on our computer. Let's update createBlog action.
        if ($form->isSubmitted() && $form->isValid()) {
            $blog = $form->getData();
            $imageFile = $form->get('image')->getData();
            if ($imageFile) {
                $originalFilename = pathinfo($imageFile->getClientOriginalName(), PATHINFO_FILENAME);
                $safeFilename = $slugger->slug($originalFilename);
                $newFilename = $safeFilename.'-'.uniqid().'.'.$imageFile->guessExtension();

                try {
                    $imageFile->move(
                        $this->getParameter('image_directory'),
                        $newFilename
                    );
                } catch (FileException $e) {
                    $this->addFlash('error', 'Image cannot be saved.');
                }
                $blog->setImage($newFilename);
            }

            $entityManager->persist($blog);
            $entityManager->flush();
            $this->addFlash('success', 'Blog was created!');
        }
We have added image processing. We check if the image exists in the request. If so, we change its name and move it to the image_directory and then save the image filename.
I forgot to mention that you have to add image_directory parameter in
/config/services.yaml under parameters section:
parameters:
    image_directory: '%kernel.project_dir%/public'
Try it out, you should be able to upload the image. You should see a newly created image under the public directory.
Validation
Before we move on to edit action, we need to add validation to our form.
Why?
Ask yourself these questions:
- What if a user will upload a 100 megabytes pdf file?
- What if I inject HTML code into a title?
We have to handle such cases. For this purpose, Symfony has in-built Validation Constraints. I will show you how to use them.
We can add validation constraints with annotations. Let's edit our /Entity/Blog.php class.
use Symfony\Component\Validator\Constraints as Assert;

.......

    /**
     * @ORM\Column(type="string", length=40)
     * @Assert\NotBlank(message="Title cannot be empty.")
     * @Assert\Length(max=40)
     */
    private $title;

    /**
     * @ORM\Column(type="string", length=40)
     * @Assert\NotBlank()
     * @Assert\Length(max=40)
     */
    private $short_description;

    /**
     * @ORM\Column(type="text")
     * @Assert\NotBlank()
     */
    private $body;

    /**
     * @ORM\Column(type="string", length=100, nullable=true)
     * @Assert\Image()
     */
    private $image;
We added assertations here. Our fields cannot be blank, and we asserted that the image should be an actual image. There are many more options for Image validation, but this is out of the scope of this tutorial. You can read about the options and try them here.
Now you can try to create a blog. And try to upload some files (not images), you should see the error.
Improvements
So far, we created a list and createBlog actions. We need to add one more thing. We need a create button on this page. Find a list.html.twig file and copy-paste this code(at the bottom of the body block):
    <div class="row">
        <div class="col-lg-8  align-center">
            <a href="{{ path('app_main_createblog') }}" class="btn btn-primary">Create blog</a>
        </div>
    </div>
Path - is a special function, that you can use in a twig to generate routes. To find a route, use this command:
php /bin/console debug:route
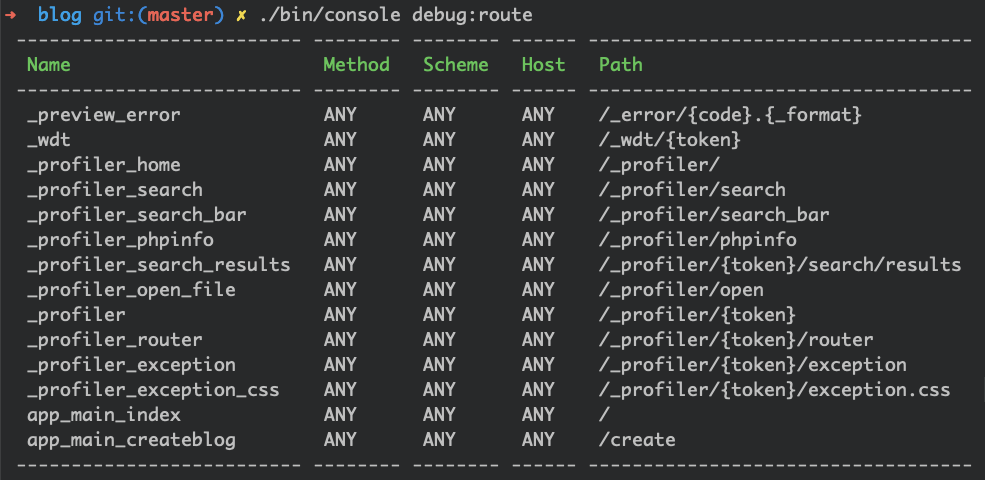
It will show every route you have in your project and its name. I recommend installing Symfony plugin in your IDE of choice. I use PHPStorm, but if you are using VisualStudioCode or something else, search for the Symfony plugin. With a plugin, you don’t need to debug the route. Route autocomplete will be available for you.
You can add a name to your route explicitly, like this(in this case you don't have to debug routes - recommended):
@Route("/", name="app_index")
Lastly, I want to redirect the user to the list page after creating the blog. Change this line in createBlog action.
            $this->addFlash('success', 'Blog was created!');

            return $this->redirectToRoute('app_main_index');
And update list.html.twig, insert this code under <h1> tag:
            {% for label, messages in app.flashes %}
                {% for message in messages %}
                    <div class="flash-{{ label }}">
                        {{ message }}
                    </div>
                {% endfor %}
            {% endfor %}
Ok, we're good.
Edit action
Edit blog is pretty similar to create action. We need to fetch the blog by id and populate the form with existing data from the database.
Create a new method in the controller called editBlog
    /**
     * @Route("/edit/{id}")
     *
     * @ParamConverter("blog", class="App:Blog")
     *
     * @return Response
     */
    public function editBlog(Blog $blog, Request $request, EntityManagerInterface $entityManager, SluggerInterface $slugger)
    {
        $blog->setImage(new File(sprintf('%s/%s', $this->getParameter('image_directory'), $blog->getImage())));
        $form = $this->createForm(BlogFormType::class, $blog);

        $form->handleRequest($request);
        if ($form->isSubmitted() && $form->isValid()) {
            $blog      = $form->getData();
            $imageFile = $form->get('imageFile')->getData();
            if ($imageFile) {
                $originalFilename = pathinfo($imageFile->getClientOriginalName(), PATHINFO_FILENAME);

                $safeFilename = $slugger->slug($originalFilename);
                $newFilename  = $safeFilename.'-'.uniqid().'.'.$imageFile->guessExtension();

                try {
                    $imageFile->move(
                            $this->getParameter('image_directory'),
                            $newFilename
                        );
                } catch (FileException $e) {
                    $this->addFlash('error', 'Image cannot be saved.');
                }
                $blog->setImage($newFilename);
            }

            $entityManager->persist($blog);
            $entityManager->flush();
            $this->addFlash('success', 'Blog was edited!');
        }

        return $this->render('create.html.twig', [
            'form' => $form->createView(),
        ]);
    }
As you can see this method is almost the same as createAction.
     * @Route("/edit/{id}")
     *
     * @ParamConverter("blog", class="App:Blog")
{id} is a wildcard, it's a blog id, @ParamConverter annotation converts id into an Object, in our case, it's a Blog. Basically you can do it on your own using the repository method - find.
Additionally, we need to update our BlogFormType to avoid file processing(in case there is no file present). Add a required => false here:
        $builder->add('imageFile', FileType::class, [
            'attr'     => ['class' => 'form-control',],
            'mapped' => false,
            'required' => false
        ]);
And one finishing touch, change edit button URL to existing edit action. You have to update list.html.twig file:
<td>
    <a href="{{ path('app_main_editblog', {id: blog.id}) }}" class="btn btn-primary">Edit</a>
</td>
Try it out, you should be able to click on the edit button and it will redirect you to the edit form.
Let's move on and build a delete action.
Delete blog
We need to add one more action to our MainController:
    /**
     * @Route("/delete/{id}", name="app_blog_delete")
     *
     * @param Blog                   $blog
     * @param EntityManagerInterface $em
     *
     * @return RedirectResponse
     */
    public function deleteBlog(Blog $blog, EntityManagerInterface $em): RedirectResponse
    {
        $em->remove($blog);
        $em->flush();
        $this->addFlash('success', 'Blog was edited!');

        return $this->redirectToRoute('app_main_index');
    }
It's pretty simple, we remove the blog with entityManager and then we add a success message and redirect the user to the main page.
If you have not added the delete button yet, let's do it now. Go to list.html.twig and add the delete button, under the edit button.
<a href="{{ path('app_blog_delete', {id: blog.id}) }}" onclick="return confirm('Are you sure?');" class="btn btn-danger">DELETE</a>That's it.
Conclusion
In this tutorial, you have learned how to create a simple CRUD application. From this point, I suggest learning more about doctrine, and Symfony forms.
If you want to see the full project, you can find it here on GitHub.
Thank you.
Update
If you are interested, I wrote a new Symfony advanced tutorial, check it out.


Member discussion